This guide will help you setup and configure Dynamic DNS within your Hikvision Camera/DVR/NVR.
(Firmware 3.4.80 Build 161128)
Start by accessing your Hikvision device by entering in the LAN address in the URL bar (ours happens to be 192.168.1.9, yours might be different):
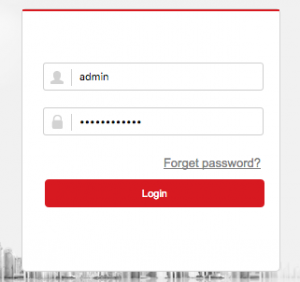
Enter in your username and password for your device and then select login to log into your Hikvision device:
From here, navigate to the DDNS page on your device (Configuration > Network > Basic Settings > DDNS). In this example, we are using the Turbo HD DVR (DS-7200):
The proper settings are as follows:
DDNS Type: NO-IP
Server Address: dynupdate.no-ip.com
Domain: all.ddnskey.com
User Name: Your DDNS Key Username / Email
Password: Your DDNS Key Password
DDNS Key usernames and passwords are created individually for each hostname or group of hostnames. They are generated from the DNS Records page in your account.
Once everything is filled out correctly, click on the “Save” button.
Depending on the web browser you are using, you may need to switch back and forth from the DDNS tab. This updates the “Status”. If everything was entered correctly, you should see the following message:
It might say “Connecting” for a while, but keep switching between the tabs and you should eventually see the “Normal” status.
Note: Hikvision is commonly known to give a false error “connection to server failed” even when configured correctly. If you receive this error and you’ve set up DDNS correctly with your No-IP account information, you will need to completely disable the DDNS settings for one hour, update the firmware (if needed), and re-enable the DDNS settings. Delete and re-enter the fields in the configuration provided above as well. This will usually clear the error, and the device will then begin to communicate with our servers.
Congratulations! Your Hikvision device will now be sending out automatic DDNS updates to our server to ensure that you always stay connected.
You can learn more about using No-IP and Cameras here.

