This guide will show how to use your Outlook Express email client in conjunction with the No-IP Alternate Port SMTP email service.
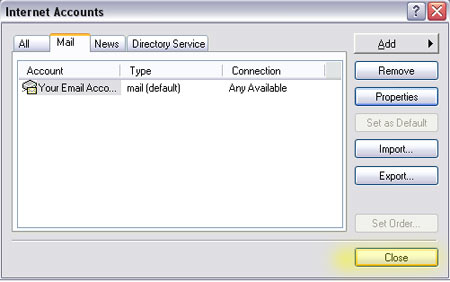
Step 1: Open Outlook Express and select “Accounts” from the Tools menu.

Step 2: Under the “Mail” tab, select the account you want to modify and click “Properties”.

Step 3: Click the “Servers” tab and fill in all the required information.
- Server Information for the outgoing mail server (SMTP) should be smtp-auth.no-ip.com and the incoming POP3 mail server should be set to your existing mail server (provided by your ISP or a third party).
- Contact your ISP or third party if you don’t know what these settings should be. If you’re using No-IP’s POP3 service, see our tips for setting up No-IP™ POP3 service with Outlook Express.
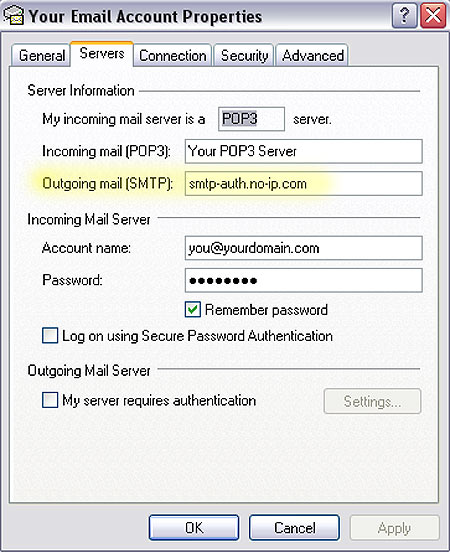
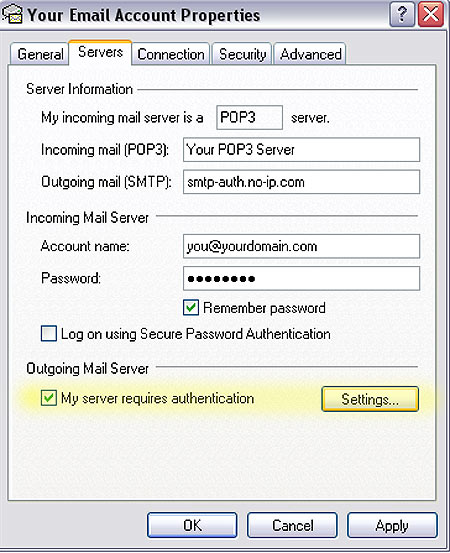
Step 4: Enable outgoing server authentication and click “Settings”.
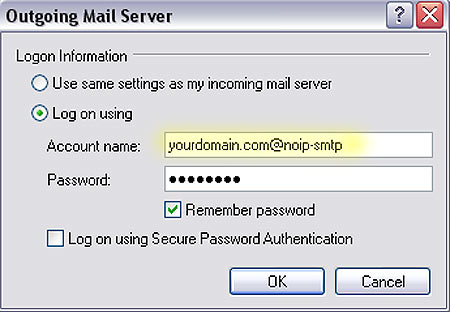
Step 5: Customize the authentication settings.
- Select “Log on using” and put yourdomain.com@noip-smtp as the Username.
Note: Take care to not put an extra hyphen “-” in noip here. - The password is one you created when setting up the Alternate Port SMTP service from within your No-IP account.
- Click “OK”.
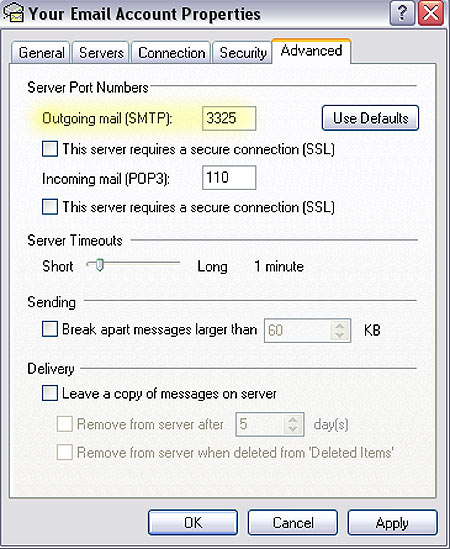
Step 6: Click on the “Advanced” tab to change the SMTP server port number.
- In the Outgoing mail (SMTP) field, change the port number to 3325. Click on the “OK” button to return to the previous window.
Step 7: Click “Close” to save the settings and you’re done!
